Assignment 1 - Basic Garment Draping
[DST64204]
Andi Syahnaz Asyira - 0350545
Bachelor in Fashion Design Technology (Hons)
Taylor's University
Garment Draping

We began our second semester this week. Mr. Riza, as usual, explained our class's timeline for this semester from our Module Information Booklet (MIB). Following that, we started our class. We learn about different garment cuts in the first lesson, such as a modern princess line and a classic princess line. Mr. Riza also refreshes our knowledge of straight grain, cross grain, and bias, which will be useful throughout this module.
Mr. Riza then demonstrated how to drape a garment using calico fabric step by step. We must first prepare the mannequins by marking our draping lines. Draping tapes can be used for this, but Mr Riza recommended that we use elastic bands instead because the stretchy material will make it easier for us to use. We started by pinning our draping lines: centre front, centre back, neckline, shoulder line, bust line, armhole, front and back princess seams, and hipline. You must also pin your side seams and waistline, but we skipped this step because our mannequin already has a built-in waistline.

fig 1.0 Demonstration by Mr. Riza

fig 1.1 Final draping lines (front)

fig 1.2 Final draping lines (side)

fig 1.3 Final draping lines (back)

fig 1.4 Final draping lines (closeup)
Following that, we laid out our ironed fabric and started cutting out the pieces. For this technique, we'll use straight grain. Start by measuring each section's length from the longest and widest point; for the centre front and back, add 2 cm on the straight grain, then fold and press it in; for the rest of the sides, add 5 cm ease, pin this along your centre line, then start pinning all around the draping lines.

fig 1.5 Demonstration by Mr. Riza

fig 1.6 Draping on centre front
For your side parts, simply add 5 cm ease on all sides. Then, in the middle of the fabric, draw a straight line. This will serve as a guide for pinning the fabric to the mannequin. Make sure the line is straight when you first pin it; this will help you keep the grain straight. You'll need to cut your fabrics here and there to get the fabric to flow properly and avoid creases when you pin them. However, avoid cutting too close to the pattern.
Remove any excess that isn't necessary while still leaving ease. Once you are done, the pieces will include a centre front, side front, centre back and side back, which makes up one-half of a top.

fig 1.7 Final draping top (front)

fig 1.8 Final draping top (back)
Week 2 - 6 April 2022
We plan to complete the skirt portion of the dress this week. First, we followed the same steps to make the top, except this time there will only be two pieces, the centre front and back, instead of four.
Each skirt will measure 50 cm in length with a 5 cm ease at the waist, sides, and bottom. Then we measure the distance between our waist and hips to use as a guide when pinning it on the mannequin's hipline. Following the pinning of the sides, there will be a lot of loose fabric in the middle, which we will shape into darts on the skirt to follow the mannequin's figure.

fig 2.0 Demonstration by Mr. Riza

fig 2.1 Demonstration by Mr. Riza

fig 2.2 Final draping on body form (front)

fig 2.3 Final draping on body form (back)

fig 2.4 Final draping on body form (side)
Once we've double-checked that all of our darts and cuts are in place, we're ready to move on to the next step, which is transferring the pattern onto mahjong paper. First, we remove all pins and iron all of the pieces so that they lay flat and are easier to transfer.
Next, we sharpen and fix the lines on the fabric to ensure accuracy, and finally, we trace the patterns on mahjong paper using a tracing wheel. We need to fold the paper in half for the centre front pieces. In order to create a symmetrical full front pattern. Continue as usual with the rest of the pieces. After you've added the seam allowance, you're ready to cut them out.

fig 2.5 Final draping results

fig 2.6 Transferring draping results

fig 2.7 Final working pattern
Week 3 - 13 April 2022
Mr. Riza began the class by showing us how to cut the pattern onto the lining and calico fabric. After cutting the pieces, we'll sew the dress together like a regular dress. You'll also need to sew the invisible 24 inch zipper down the centre back. Same goes to the lining; we need to sew all of the lining pieces together, but leave the centre back open this time.

fig 3.0 Demonstration by Mr. Riza

Fig 3.1 Transferring working pattern on calico

fig 3.2 Front pieces on calico

fig 3.3 Back pieces on calico

Fig 3.4 Transferring working pattern on calico
Mr. Riza then showed us how to sew the lining to the outer garment. Starting at the neckline, sew the right sides of the neckline together. The seam should then be pressed open so that it lays flat. Make a stay stitch on the lining side now that it is easier to lay flat. Repeat the steps on both armholes. Afterwards, sew the hems together. After that, sew the centre back. To attach the rest of the centre back, you'll need to hand sew an invisible stitch.

fig 3.5 Demonstration by Mr Riza
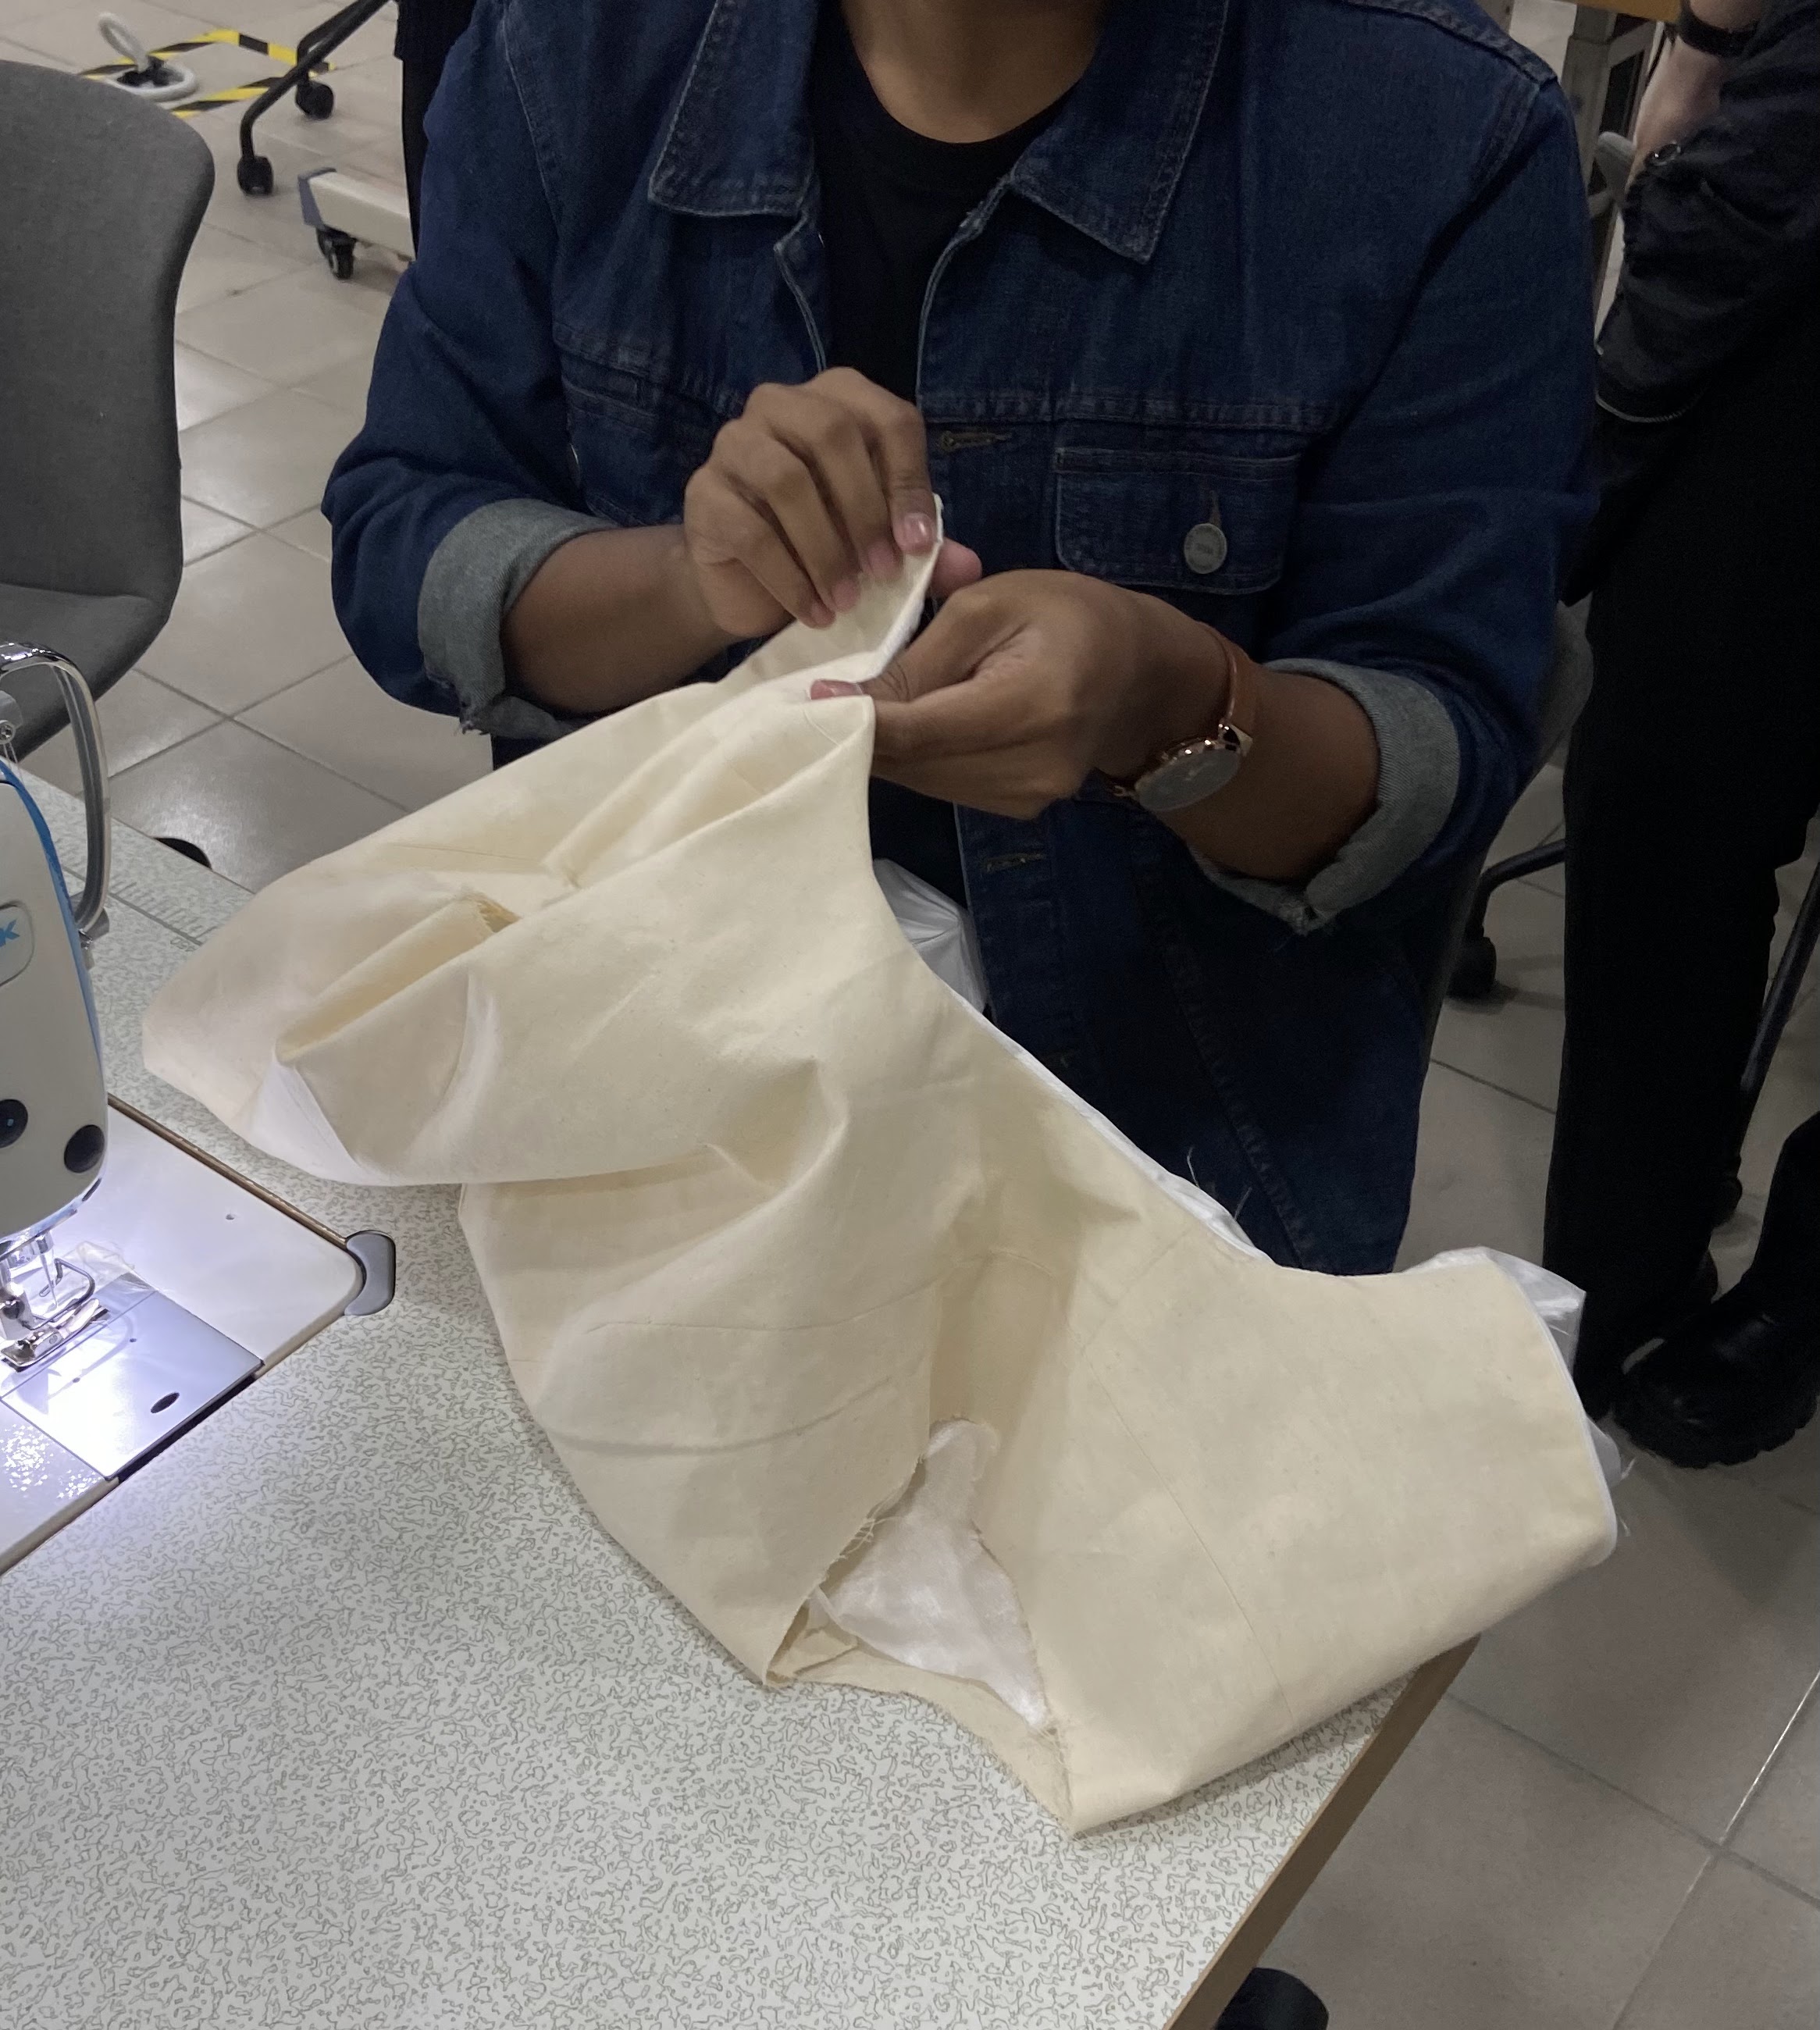
fig 3.6 Demonstration by Mr Riza

fig 3.7 Demonstration by Mr Riza
Week 4 - 20 April 2022
This week is the project's deadline, so Mr. Riza gave us the entire day to complete our garment.

fig 4.0 Final outcome (front)

fig 4.1 Final outcome (back)
- When I get to the studio tomorrow, I'll change the photo to the one with the manequin.


Comments
Post a Comment